|
Cedar Strip Canoe Building
|
|
I've always been fascinated by boats. As kid I built a few
models some with motor, some even simpler and always thought that one day I will
be building one that will take me exploring. Few years ago I came across " Mac"MacCarthy's Featherlight Boat building book and only a month later a began
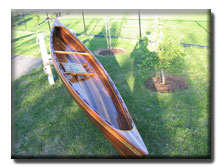
building my first WeeLassie 12.
All my boats start as simple 2x10 cedar planks and
everything is done by hand except the strips which are machined one by one
in my garage. It took a year before my first WeeLassie was finished and only a
week later was sold to a boat collector in New Jersey. After that I built few
more WeeLassie boats and one Prospector 16 for my friends.
The feeling
and satisfaction of building a boat is absolutely incredible and after the first
few I thought I'd get bored. Well, it turns out I was wrong. In fact I am now
designing my own solo fishing boat and planning to post the plans out after the
first one is built and tested.
Below is the short version of the
cedar strip canoe building saga. If you are interested in cedar strip boat
building or buying one of my boats, please
email
me.
 |
 |
 |
|
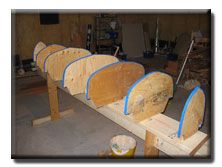
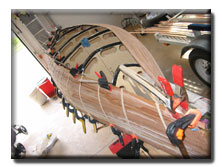
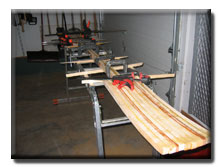
It all starts with the strongback and molds |
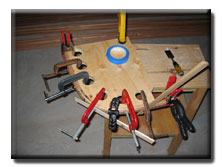
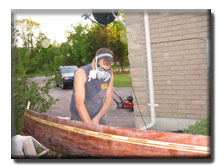
Bending the stems |
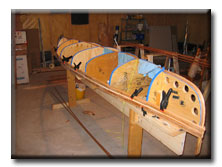
Attaching the first strips |
 |
 |
 |
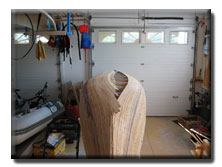
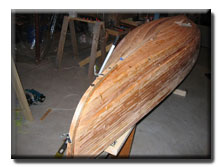
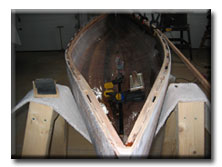
| Hull
is almost complete |
The
last few strips |
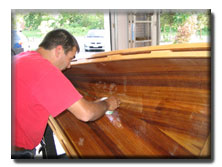
The hull is completely sanded |
 |
 |
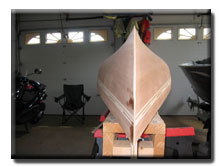 |
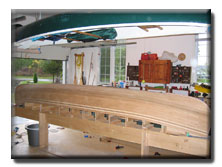
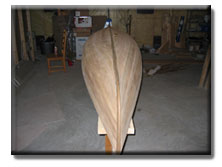
| The
keel is attached |
...And the outer stems |
Making final corrections |
 |
 |
 |
|
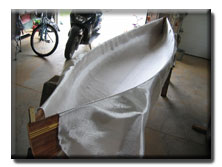
Fiber-glassing the exterior |
...And the interior |
First epoxy layer |
 |
 |
 |
|
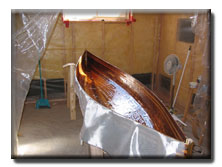
Second epoxy layer |
Sanding between epoxy layers |
Attaching the gunwales |
 |
 |
 |
|
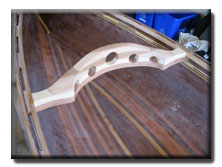
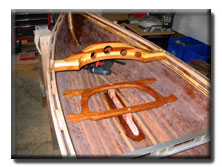
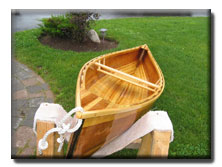
... The backrest |
... And the seat |
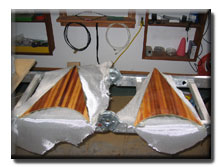
... The decks are made |
 |
 |
 |
| The
decks are attached.. |
Building the paddle |
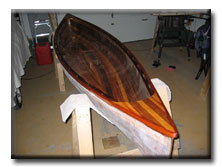
My
first WeeLassie 12' |
 |
 |
 |
|
Second... |
Third... |
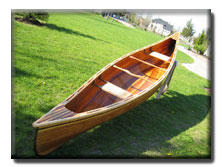
My
first Prospector 16'
|
|
|
| |
|
 |
|
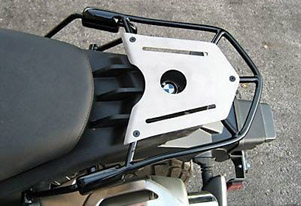
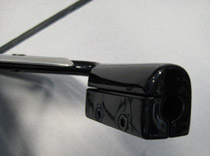
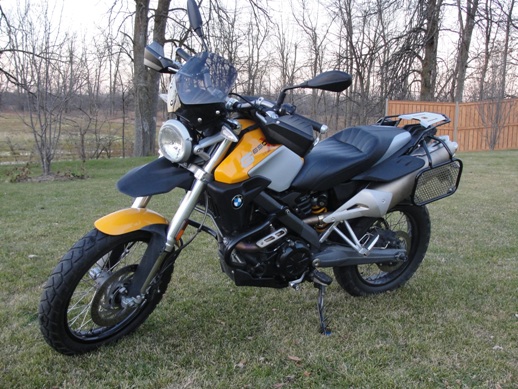
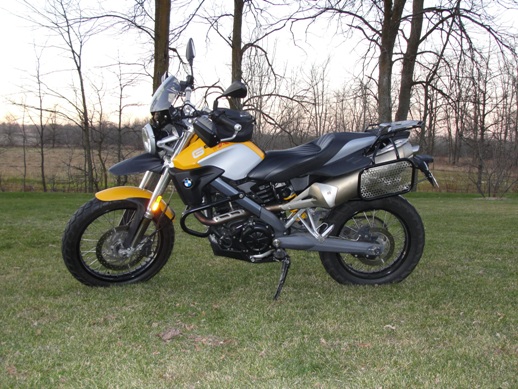
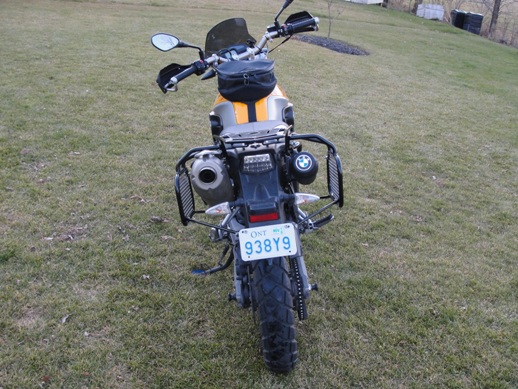
BMW G650X Country Motorcycle Rear Luggage Rack
The
first design
rear luggage rack was designed to fit on the existing pillion handles
already supplied with the BMW G650X Country Bike. Unlike the OEM rear
luggage rack which requires removal of the pillion handles and the exhaust
pipe in order to assemble, this design allowed one to attach this rack in
less than 5 minutes by using 4 Allen screws on the clamps that fit on each
of the two pillion handles.
I stopped making this unit a
while ago as my friend Rob who is actually building these for me by hand,
could no longer build the machined clamps and finding another place
where they can be built with quality and at a decent price was basically
impossible given the complicated design of the clamp.
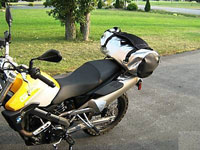
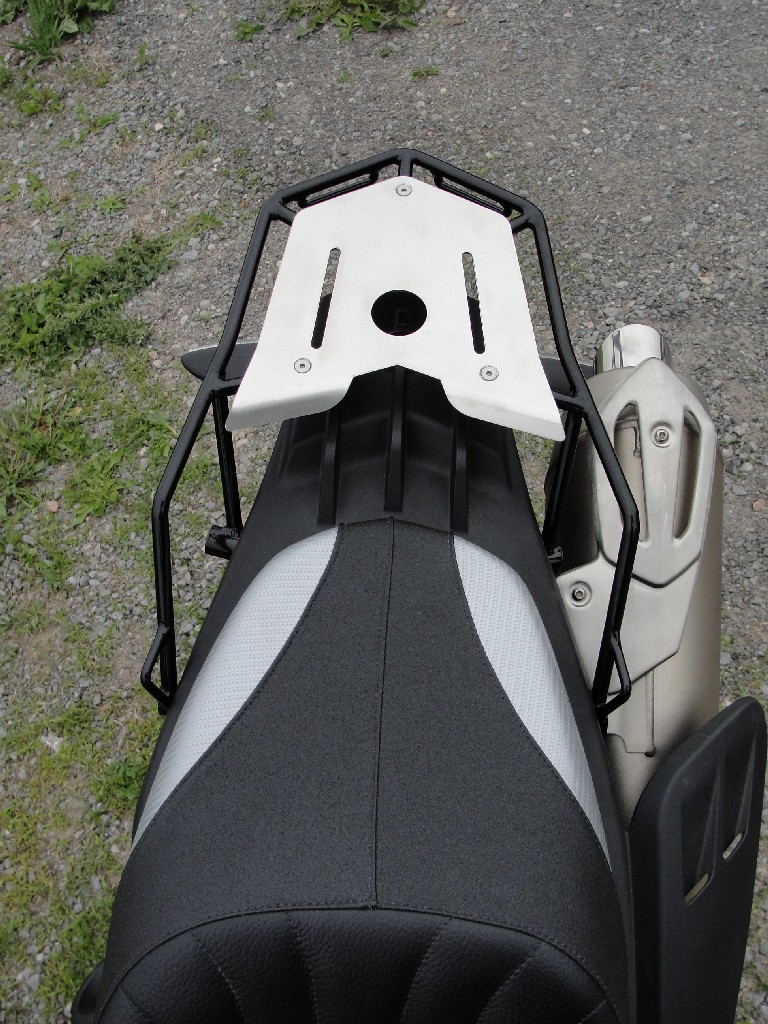
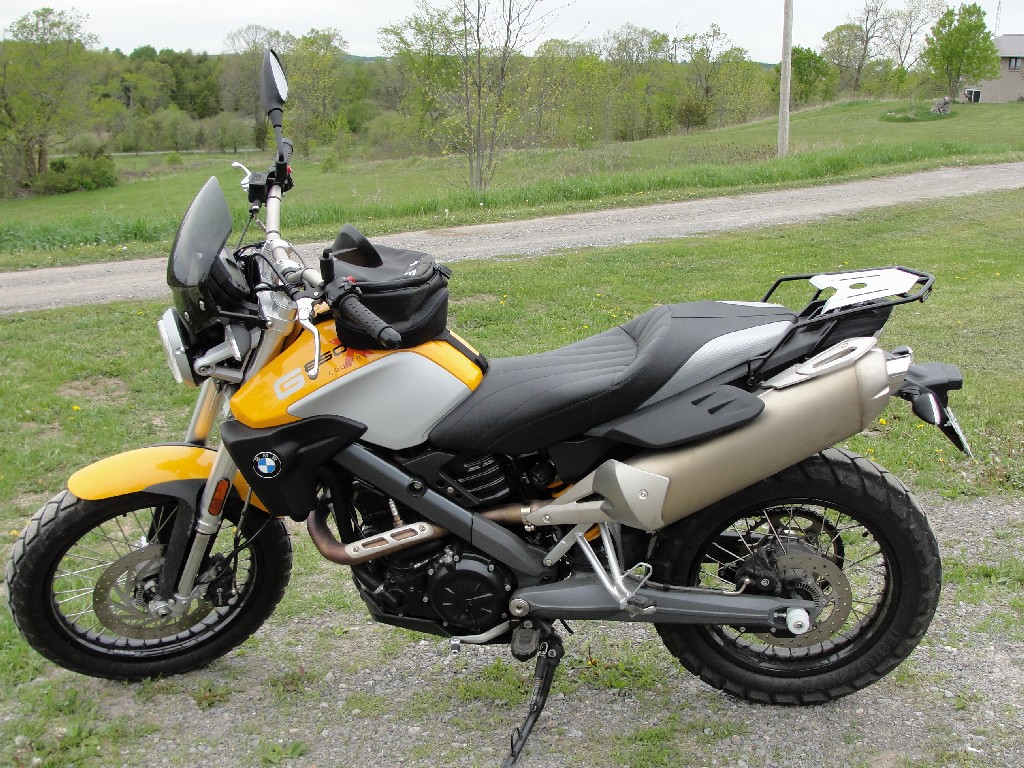
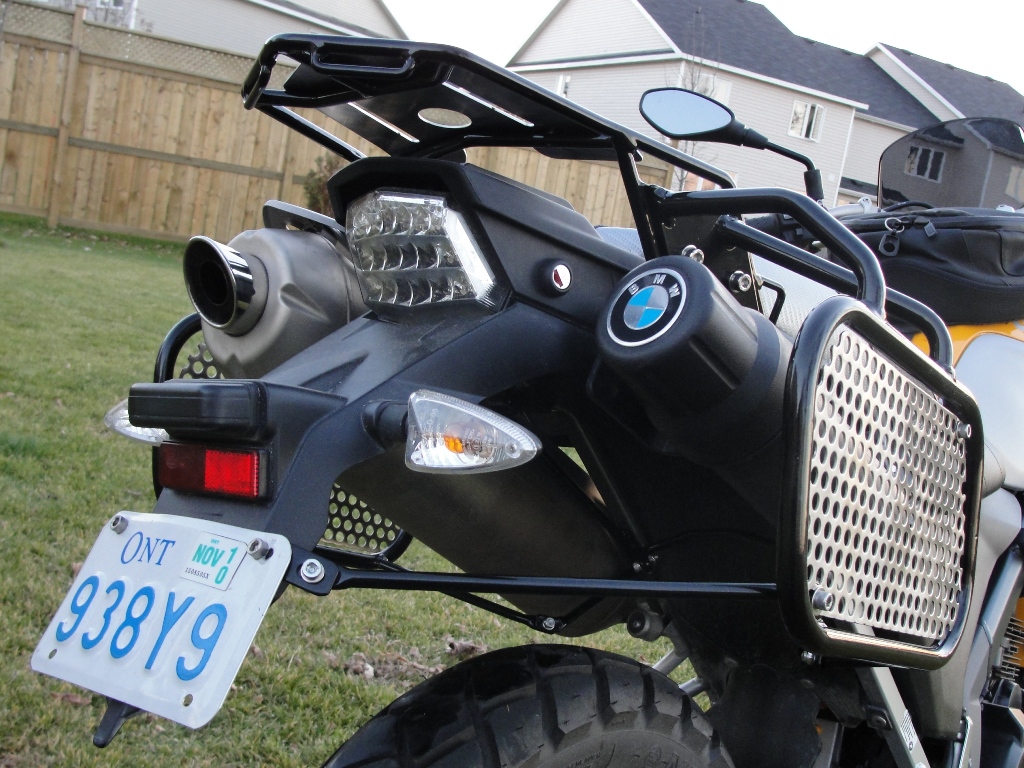
Instead, we decided to build a
one piece unit that bolts directly to the bike sub-frame and enhance it by
adding more strapping options.
This rack
is build custom in Canada
and if you are interested it can be
ordered in the
Shopping section
of my web page.
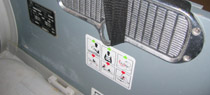
Important Notes:
- Vibrations are known for causing screws to
become loose and BMW recommends Loctite 243 (thread-locking compound medium
strength) on their bikes. Therefore ensure the four bolts are treated with
Loctite drop before you mount your rack.
| top page | |
|
 |
 |
|
| |
|
|
| |
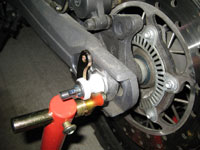 |
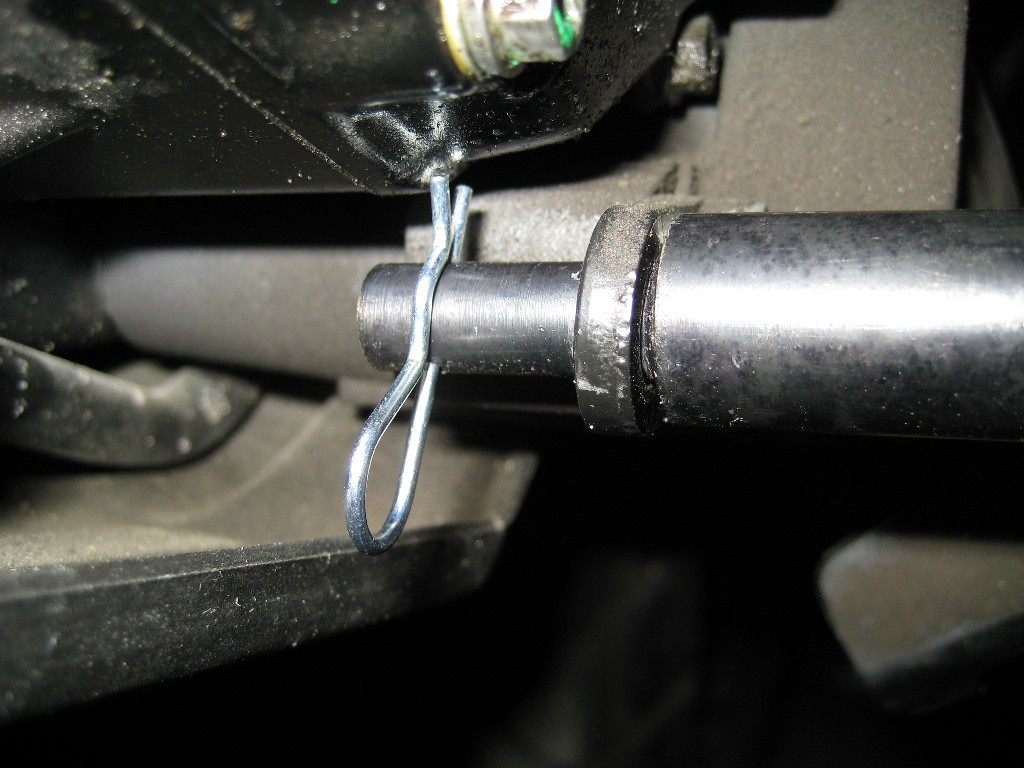
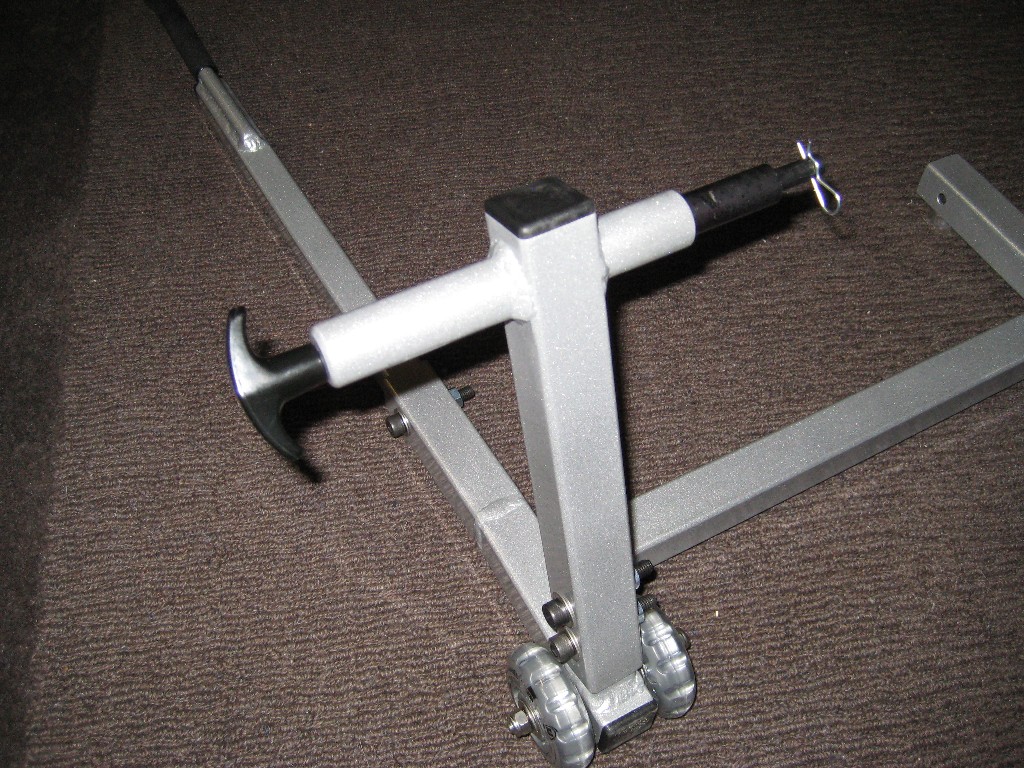
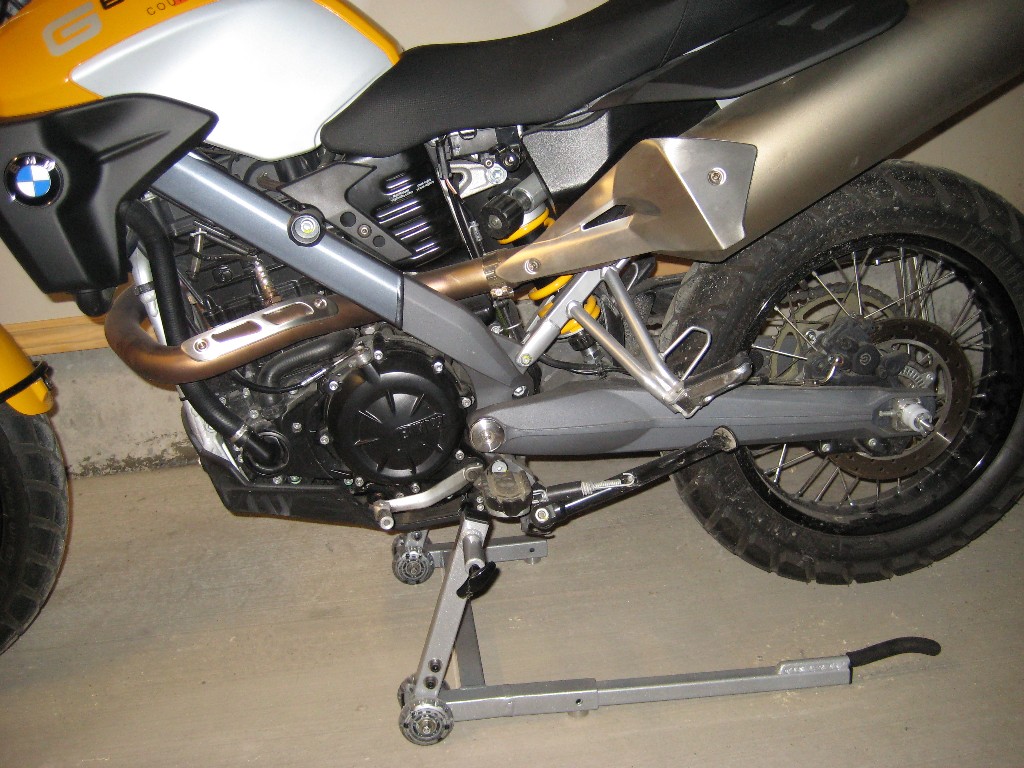
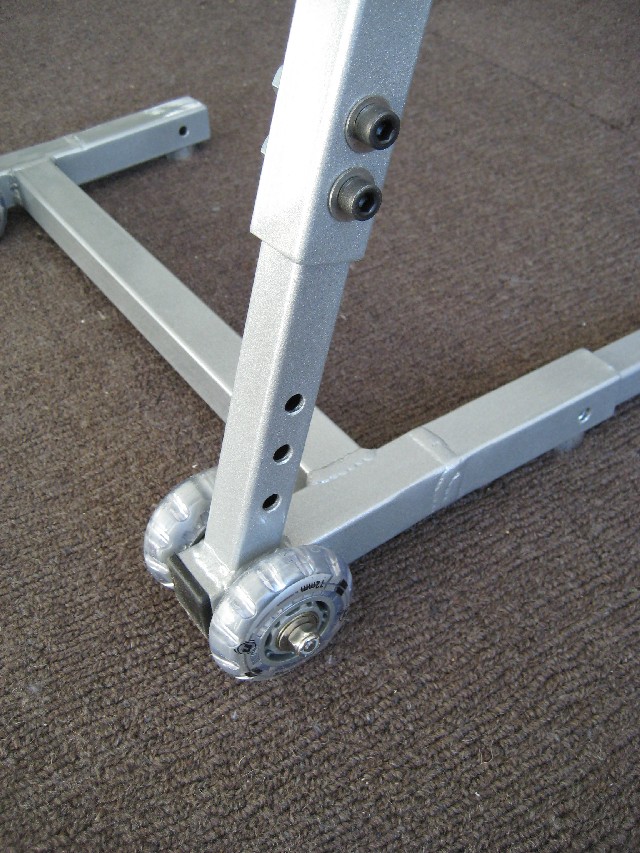
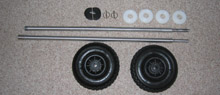
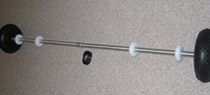
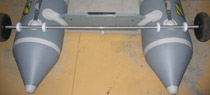
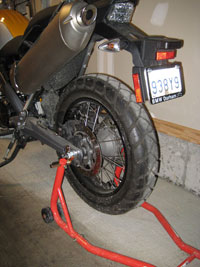
My 2009 BMW G650X bike did not come with a center stand nor BMW offers a
service stand so I designed and built a simple solution to lift the bike both
front and rear by using an ordinary stand which fits on the two Teflon paddocks
that fslide on the rod which goes right thru the wheel hub. Oil changes are now a
breeze and lifting the bike off the ground in the winter is just as easy.
The 10mm(~3/8") in diameter rod fits on
both front and respectively rear wheel hubs and is made of powder coated steel threaded
at both ends where two Teflon machined paddocks are secured using two
stainless steel wing nuts along with washers. The length of the rod between
the two threaded sections is 30mm(~12 inches) while the full length is
40mm(~16 inches) making it suitable for all bikes that have a hollow hub
with a diameter larger than 10 mm.
This unit
can be purchased in the Shopping
section of my web page.
| top page | |
 |
|
|
|
| |
|
|
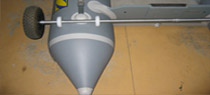
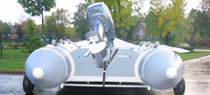
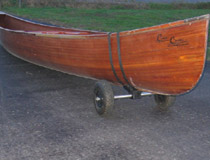
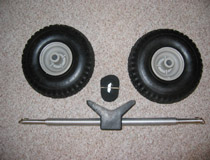
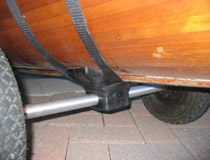
Inflatable
Boat Launcher
If you own a inflatable boat then you certainly know the pain of
launching it alone if you decide to go for an afternoon
solo fishing. And even though products to help in that
direction are available as expensive OEM launching wheels
from your boat vendor or aftermarket, they all require
basic installation skills and something that really I was
not willing to do: drilling the boat transom. In addition,
most of these products require that the wheels or the
wheel mounting guides are left on. And while the lifted
wheel steal the beauty of your boat, the guides in some
cases prevent the installation of other equipment such as
the planning flaps.
My solution is based on few principles:
-
easy to
install and store in the boat or in the car
-
less
expensive than currently offered solutions
-
reliable
and effective.
With these in mind, I came up with the Inflatable Boat Quick Launcher. The
product is designed for inflatable boats that range from 2.6-3.6m in length
and maximum 100Kg at the transom with the motor installed. I tested the
product on a Zodiac FR340 equipped with a Yamaha 9.9 motor with amazing
results.
Inflatable Boat Quick Launcher instructions
| top page | |
|
| |
|
|
|
|
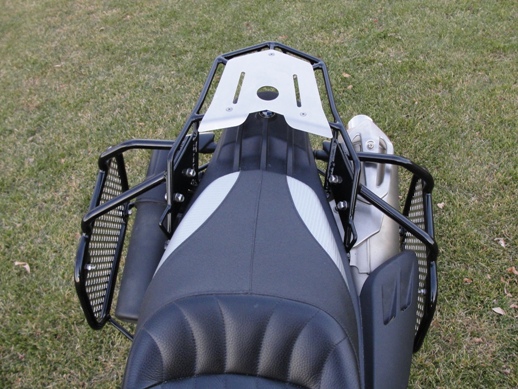
This project proved a little
more complicated than I thought mainly due to the sub-frame geometry
of the K15 BMW bike. This package includes the tail rack and also
reinforces the rear mud flap, a known issue with these bikes when
ridden in the dirt. The assembly is made of 16mm tube and 10mm solid
steel bars and powder coated in black. the top plate is brushed
stainless steel. It also has tabs to install the Agristore tool tube. The unit can be taken off the bike by
unbolting only 8 Allen type stainless steel bolts leaving just the
tail rack which also can be taken off by unbolting 4 other bolts if
required. You can download the installation sheet in the
Shopping section of my site.
|
| top page | |
|
Automatic Garage Closer
If you ever left your garage
door open overnight, and experience the thought of "what if
someone wanted to borrow some of your stuff inside"... then
you would appreciate this simple gizmo which closes your garage door
automatically after a pre-programmed time as long as the embedded
motion sensor does not trip. Please
email me if you're
interested to build one or have one built.
Intelligent Brake Light
Please go to
www.ohmics.com for details.
| top page |
.
|
|
|
|
|